DIY Hair Bows

Hi friends!

I recently purchased a new sewing machine- yay finally! – and have been playing on it daily since. Don’t you just love when you find a hobby you’re so passionate about that you can spend hours doing it and it feels like no time at all has passed?

That’s how sewing is for me.

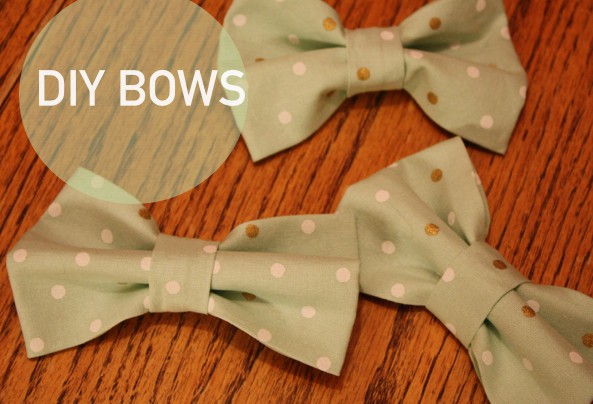
I’ve noticed a spike in hair accessory trends lately- they are all over the fall runways. This gave me the idea to play around with different hair bow patterns. I ended up finding/modifying one that I really enjoyed and is super simple to follow!

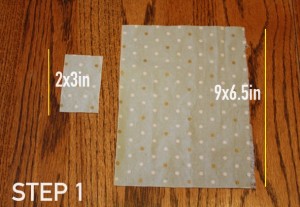
Step 1: Cut out two pieces of fabric; one at 2x3inches and one at 9×6.5inches.

bow1.001

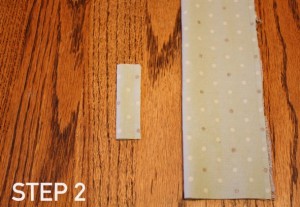
Step 2: Fold each piece lengthwise and stictch along the open edge (right sides together). I used about a 1/4 inch seam allowance.

bow2.001

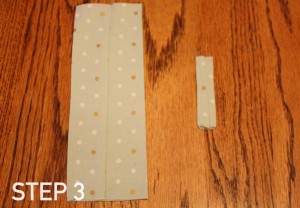
Step 3: Turn each piece right-side-out and iron flat with the seam running down the middle.

bow3.001

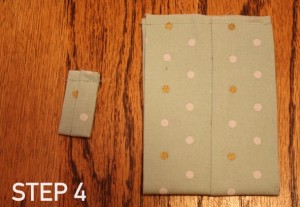
Step 4: Fold each piece upwards and stitch along the raw edge – right sides together. Again, I used a 1/4inch seam allowance.

bow4.001

Finally, turn the pieces right-side out. You will have two circular pieces at this point. Your last step will be to put the larger piece through the smaller piece until the smaller piece is in the center. Then you will fluff out the ends of your larger piece until it looks how you’d like and ta-da! Your very own bow!

To make it into a hair clip, I purchased a box of 100 hair clips from Sally’s Beauty Supply for about $7. I simply hot glued a clip into the center piece in the back.


bows.001

And there you have it- a simple and easy DIY hair bow- perfect for sporting events, sororities, or everyday wear!

-xobrendykins

P.S.- if you feel like seeing what else I’ve been up to, check out my other sites at Bloglovin‘, Twitter, or Instagram!

DIY: Jewelry Holder

Hello friends!

I love wine. #amirightladies?

IMG_6521

Being a mid-twenty-year-old female, I drink wine. We go wine tasting, go out to dinner, have girls nights out, and wine flows abundantly throughout these evenings.

These end with quite a few empty bottles floating around my house. Now I do recycle quite a few of them, however I got to thinking; what else could I do with these bottles?

IMG_6522

(btw: super good inexpensive wine I found at Target!) 

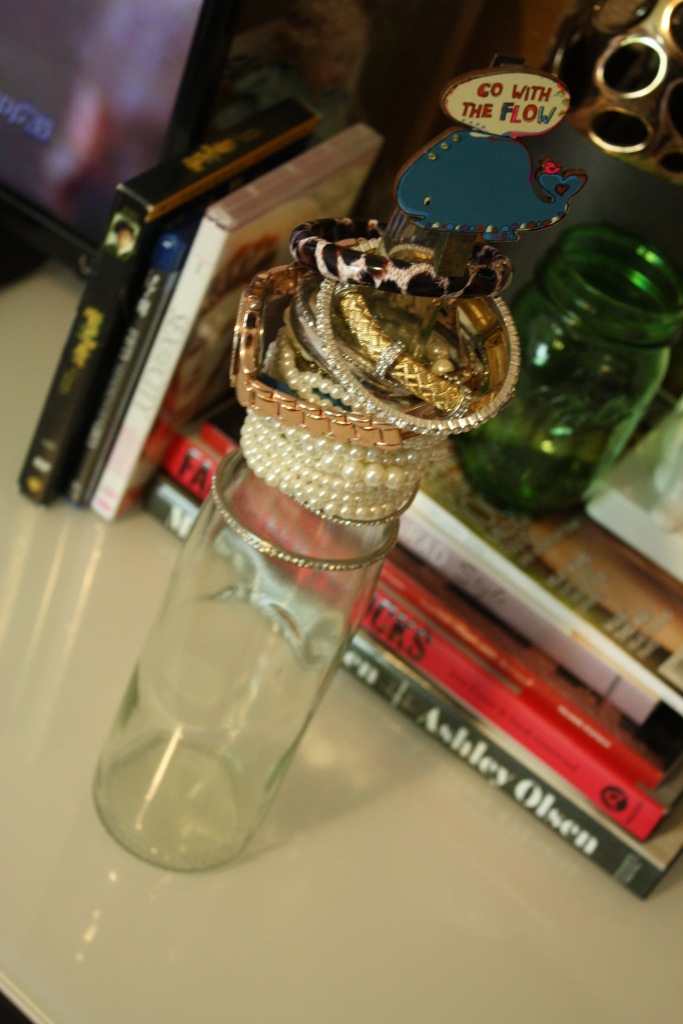
Also being a girl, I have quite a lot of jewelry; particularly bracelets. I don’t know how you all store your bracelets, but I had utterly no idea how to store mine. I tried a jewelry box, laying them out, but nothing worked. I could never find one to wear with my outfit.

So to merge these two issues I decided to make a bracelet holder with these wine bottles. Its a great way to display your jewelry so you can see what you own, look at what matches with each outfit, and its super cute to leave on your dressing table!

DIY: Bathroom Accessory Holders

Helllllo again!

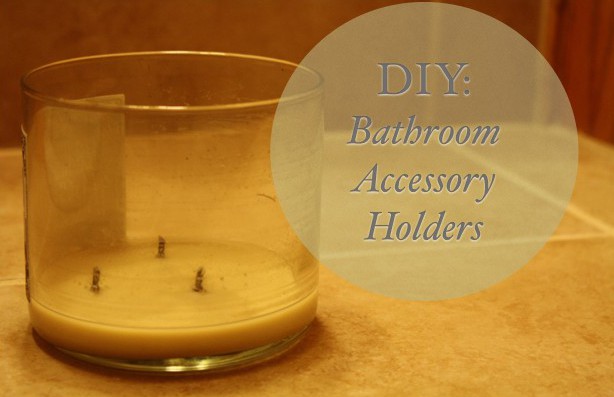
Today I’ve got a DIY special coming at you with what I do with my burnt out candles!

holder1.001

I don’t know about you, but I run through candles ridiculously quick. I love to have them burning in the evening while I get ready for bed, around the bath, and throughout the house to make it feel cozy and warm. This means I end up with quite a lot of empty candle jars. These glass containers can make amazing craft projects!

My favorite way to clean out these candle jars is to burn them as low a possible then place them in the freezer. I usually leave them in there for around 24 hours- or until I remember that I put them in there. Then I scrape out the frozen wax with a butter knife over the garbage can until I get the majority of the wax out. Finally, to clean out all the residue I let the jar sit in the sink with hot water and scrub it all out!

These jars, cleaned out, are so useful! They have a secure lid, are functional and the perfect size!

IMG_6516

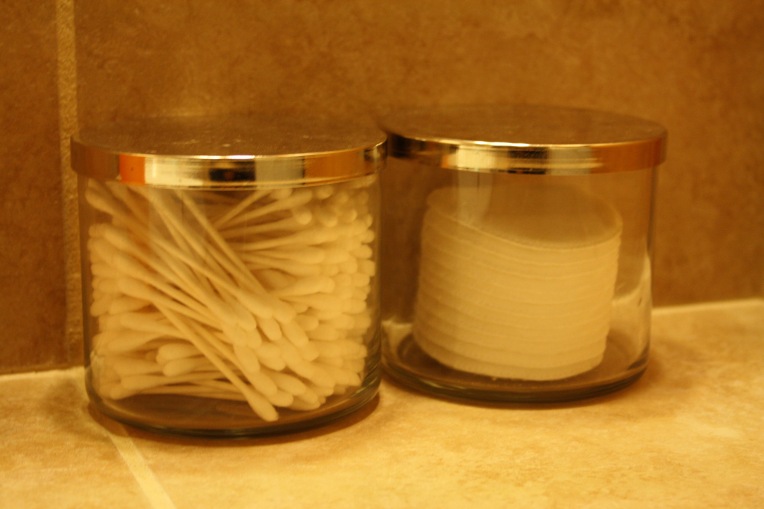
I chose to use these in the bathroom to store my cotton buds and cotton pads. Its a cute and trendy way of showing whats usually hidden away in a drawer. I think it gives a modern look to the room and I am very happy with the results!

-xobrendykins

Braided Crown Tutorial

Hi Hi!

Alright all, I am going to attempt to do my first hair tutorial. I usually wear my hair curly, and lately have been loving incorporating braids into it for a summer/festival feel.

IMG_5647

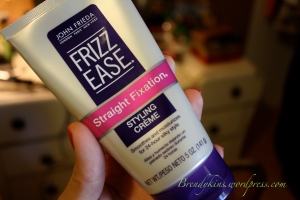
First, I wash and condition my hair. I alternate between several different types- currently I’m using BedHead and Garnier. Next, I let my hair dry naturally, and run the Frizz Ease straightening creme through my hair. This allows my hair to hold the curl without being stiff, and smells great!

IMG_5628


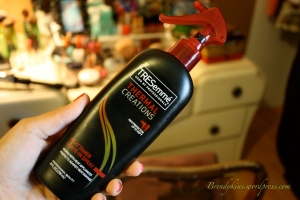
When my hair is dry, I spray the TRESemme thermal protectant spray throughout. I love this product as I truly think it protects my hair from using curling irons and straighteners.

IMG_5627

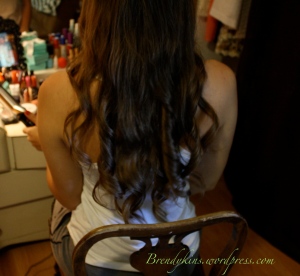
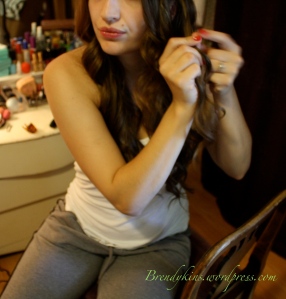
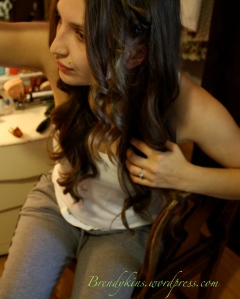
I use a 1.5 inch curling wand to curl 1-2 inch sections of my hair. I curl each peice different directions as I think it gives my hair a more natural appearance.

IMG_5631

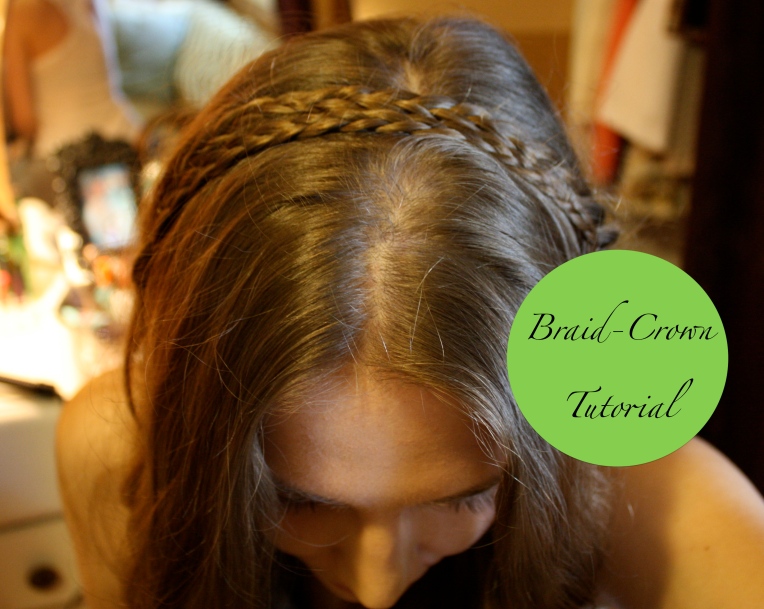
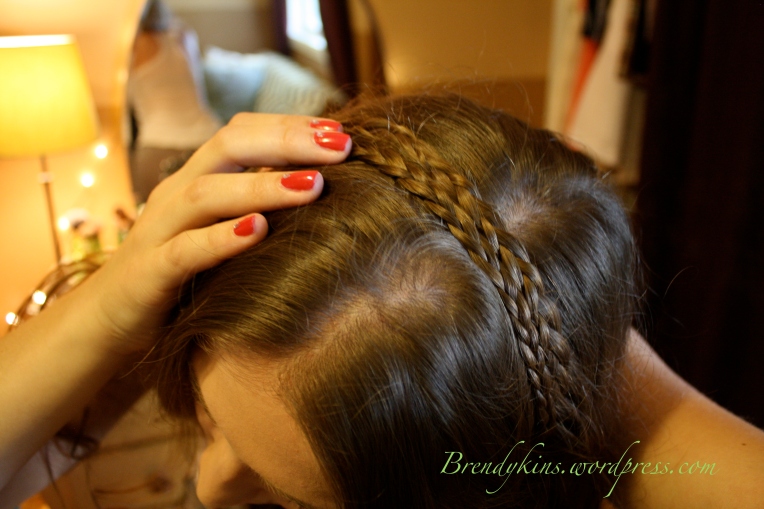
After my entire head is curled, I center part, and run my fingers through my hair to loosen the curls. Next, I take a small section from directly behind my ear, braid it, and pull it directly over my head, pinning it behind my opposite ear.

IMG_5636IMG_5638


Once both sides are braided and pulled over, it gives the appearance of a braided headband!

IMG_5644


DIY Friday: Ombre Dyed T-Shirts

Hello loves!!

Sometimes you wash your boyfriends shirt for him, and sometimes you accidentally dye it pink. Domestic. Goddess.

So, making the best out of a bad situation, I ran to the craft store, bought some fabric dye, and attempted to fix my washing machine mishap. And that my friends, is what we’re doing today!

First, I did some research. Google “dyeing clothes” and you come up with a plethora of sites giving advice on every method. I knew I wanted to ombre the shirt, because that’s what all the cool kids are doing.

So without further ado, here is my dyeing adventure:

1. Gather your materials:

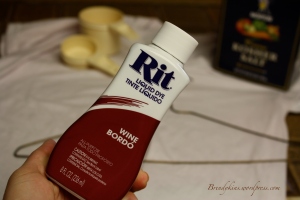
  • Dye (I LOVE Rit liquid dye) $3.99 at Michaels Craft Store
  • accidentally dyed pink t-shirt (oops)
  • Measuring cups
  • Large bucket
  • Bowl
  • Salt
  • Gloves

IMG_4525

2. Figure out your measurements. The Rit dye bottles give instructions, but they suggest using the whole bottle of dye, which I did not want to do. So I portioned it down to about 1/8 of the bottle of dye and here are the measurements I used:

  • 1/4 cup of dye
  • 1/2 cup of salt
  • 2 cups HOT water
  • 1 gallon (16 cups) hot tap water
  • A squirt of dish soap…. a professional measurement… 🙂

3. Set up a safe area to dye your garment. I chose the garage. Lay out a towel or tarp of some sort in case of spillage.

4. Put on old clothes you dont mind ruining (just in case). Put on your protective gloves.

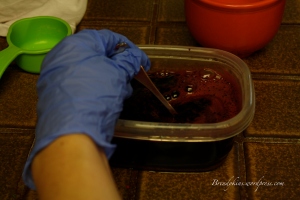
5. Pour the dye into a bowl. Add salt and hot water. Stir until the salt seems dissolved.

IMG_4528

6. Measure out 16 cups of hot water into a large bucket. Then add a little squirt of dish soap. Stir.

7. Pour dye mixture into the large bucket. Stir again.

8. Wet your shirt completely with tap water, and ring out excess water.

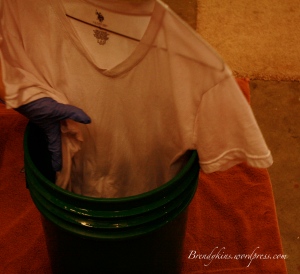
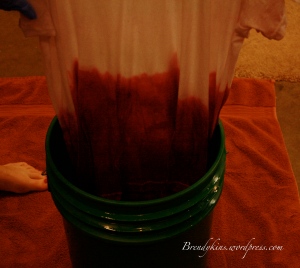
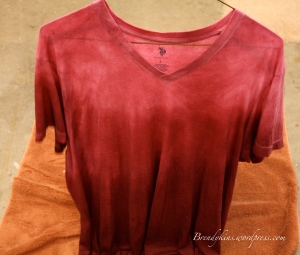
9. Place your shirt onto a hanger, rod, or other item and slowly lower into the dye mixture. This is where you have complete artistic license to have fun! I chose to dip the whole shirt in and slowly raise it from the mixture, holding the bottom of the shirt in the dye the longest. Did that make sense? I hope. Sidenote: If you don’t want your garment to have harsh ombre dye lines, then I suggest bunching it up and dyeing it haphazardly. Don’t try to be precise with this method, I think ombre looks better messy!

IMG_4535

IMG_4542

IMG_4580

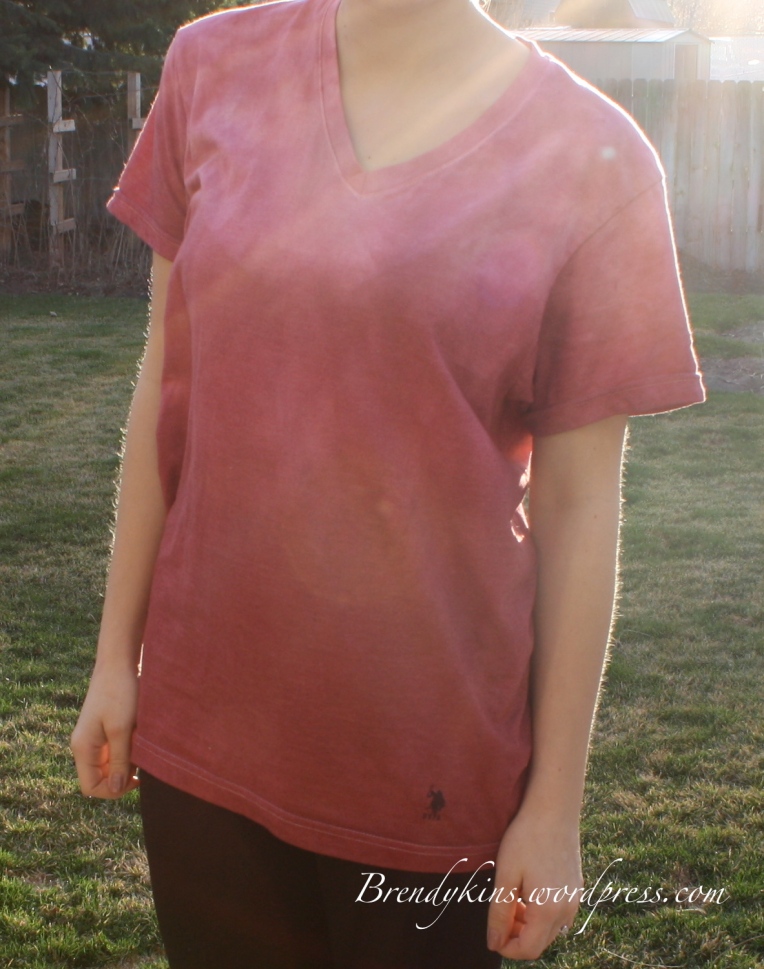
10. Leave your shirt to dry completely, and ta-da! A fabulously home-dyed shirt!

IMG_4583

As another note: After you dye the shirt, wash it out with cold water before washing it with the rest of your clothes…take my advice on this one….unless you prefer everything you wash it with to turn pink…again….

Have you ever ombre dyed anything? Any tips or tricks? Let me know in the comments below!

xobrendykins

DIY: Valentines Peter Pan Collar Necklace

Hello my lovely readers, and HAPPY VALENTINES DAY!!

I didn’t want to do a typical Valentines Day post, so I thought this little DIY/crafty project would be a fun alternative!

First off, I have been seeing peter pan collars ALL OVER. Pinterest, in magazines, worn as jewelry or sewn on, these collars are in. I found some great tutorials on Pinterest and through Google that gave me some initial ideas of how I wanted to create this necklace.

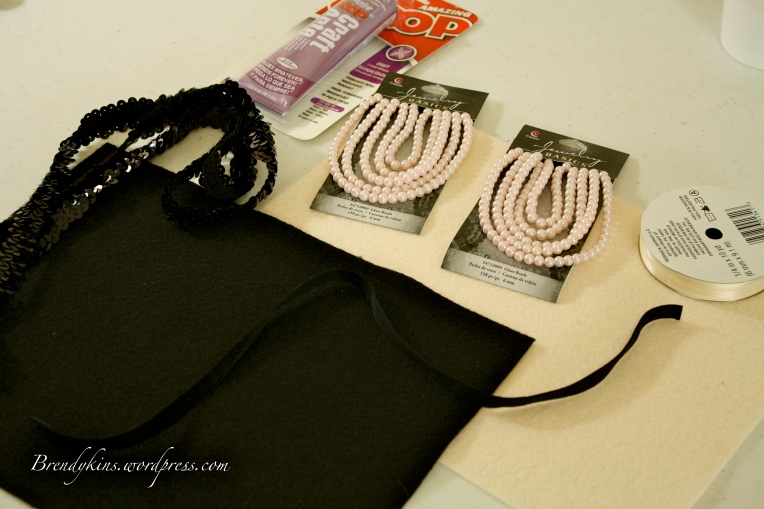
Supplies:

IMG_4139

Piece of Felt (I bought one black, one beige) $0.34 at JoAnns

Ribbon– any kind will do!

Pearls $3.99 per package at JoAnns (I bought two)

Sequins $3-ish/yard at JoAnns (I bought two yards, which was more than enough)

Paper

Hole punch

Fabric Glue (My fave is Goop, pictured above, around $5 at JoAnns)

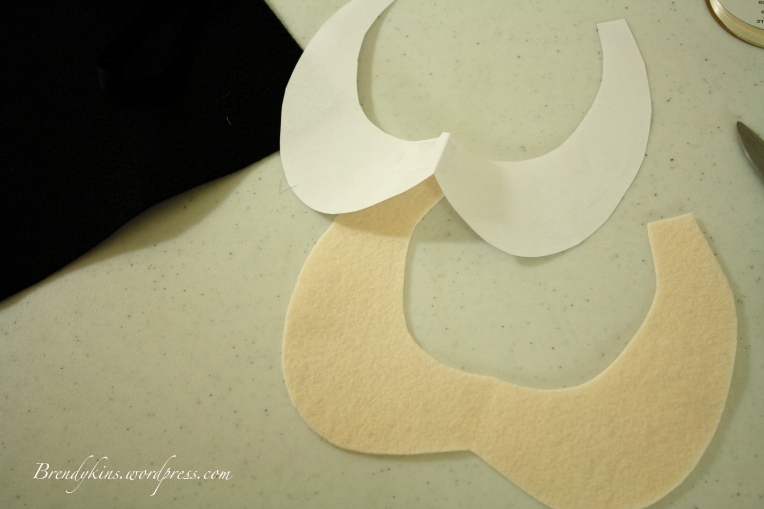
Step 1: Create a pattern for the collar on plain paper. I did this by folding the piece of paper in half and drawing one-half of the pattern on it. This way each side of the collar would be even. Side note: I had to make about 5-6 patterns before I found the right shape I wanted!

IMG_4140

Step 2: Trace the pattern onto felt & cut pattern out

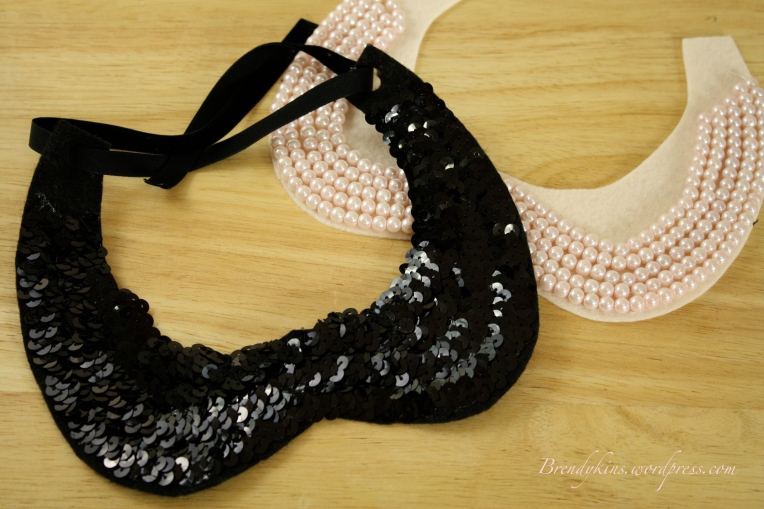
Step 3: Now the fun part! You can decorate your collar any way you like! I chose to put pearls on one, and layer sequins on the other, but it’s totally up to you! I have seen people use lace or pleather, even beads! So have fun with it!

Step 4: After letting your decorations dry, its time to punch two holes into the ends of your collar to insert the ribbon into! This makes it into a functional necklace.

IMG_4207

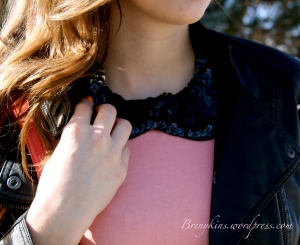
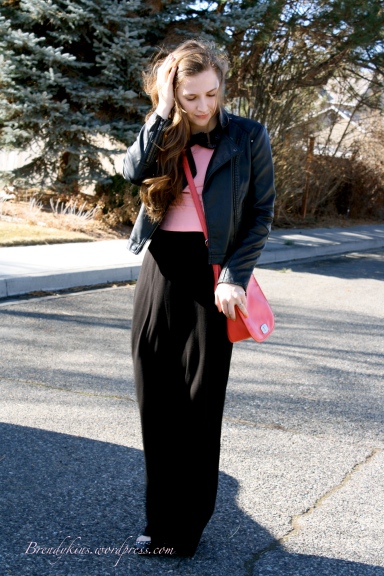
Step 5: Rock it! The best part about making your own jewelry is that you can really express yourself! I chose to make my collar a bit more glamorous, but keep the color simple so I can wear it both day & night!

IMG_4211

IMG_4210

What are your thoughts? Any fun decoration ideas? Let me know!!

Until next time,

xobrendykins